Roles Modifier: Operator Tutorial

Note: This operator tutorial is for Roles Mod v1. A new tutorial for Roles Mod v2 is forthcoming.
About the Zodiac Roles Modifier
Zodiac Roles Modifier allows owners of an avatar (a Safe or other web3 account) to create roles with granular permissions and grant them to any address. Roles are able to make unilateral calls to any approved addresses, functions, and variables to which the role has been granted access, even if they're not an owner. Learn more about the Roles Modifier.
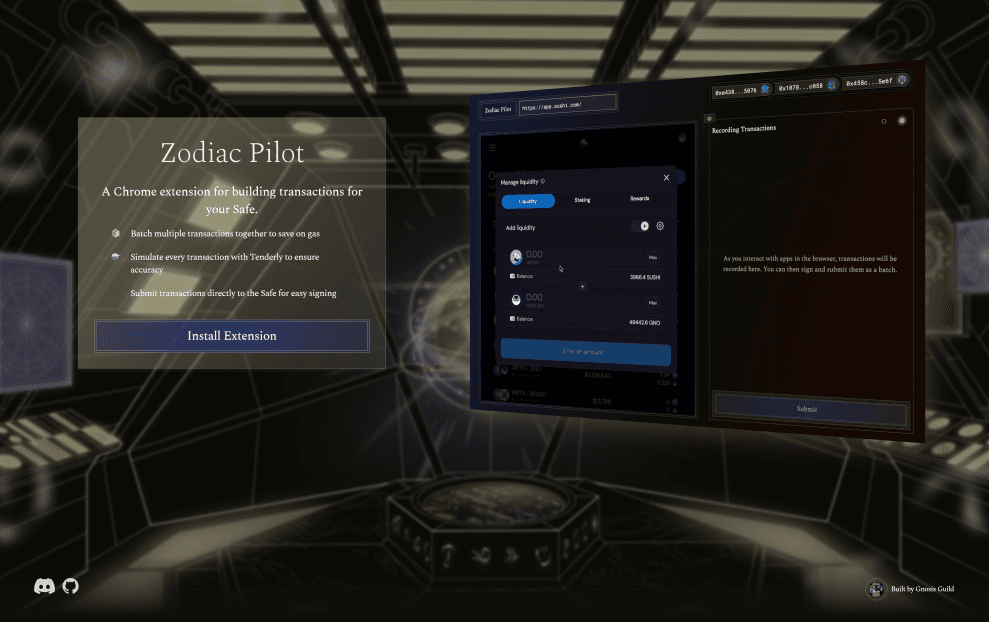
Note: the Roles Modifier works especially well with Zodiac Pilot, a Chrome extension that enables users to simulate, record, and batch dapp transactions on behalf of a DAO. Learn more about the Zodiac Pilot Extension.
This tutorial is for DAO Operators using the Zodiac App interface. For a more technical guide on how to use the Roles Modifier beyond the Zodiac App interface, see the Github repo Setup Guide (opens in a new tab).
If you need support or have questions about this tutorial or Zodiac, join the Gnosis Guild Discord (opens in a new tab).
01 Get started
Set Up a Safe
If you've already set up a Safe you'd like to use for this tutorial, skip to the next step below. If you have not set up a Safe, set one up here (opens in a new tab). Note that, for the purposes of this tutorial, we'll be using a Safe deployed on the Rinkeby test network.
Navigate to the Zodiac App
On your Safe's left menu, click the APPS option. Here you'll find apps available through Safe. Search or scroll until you find the Zodiac App.
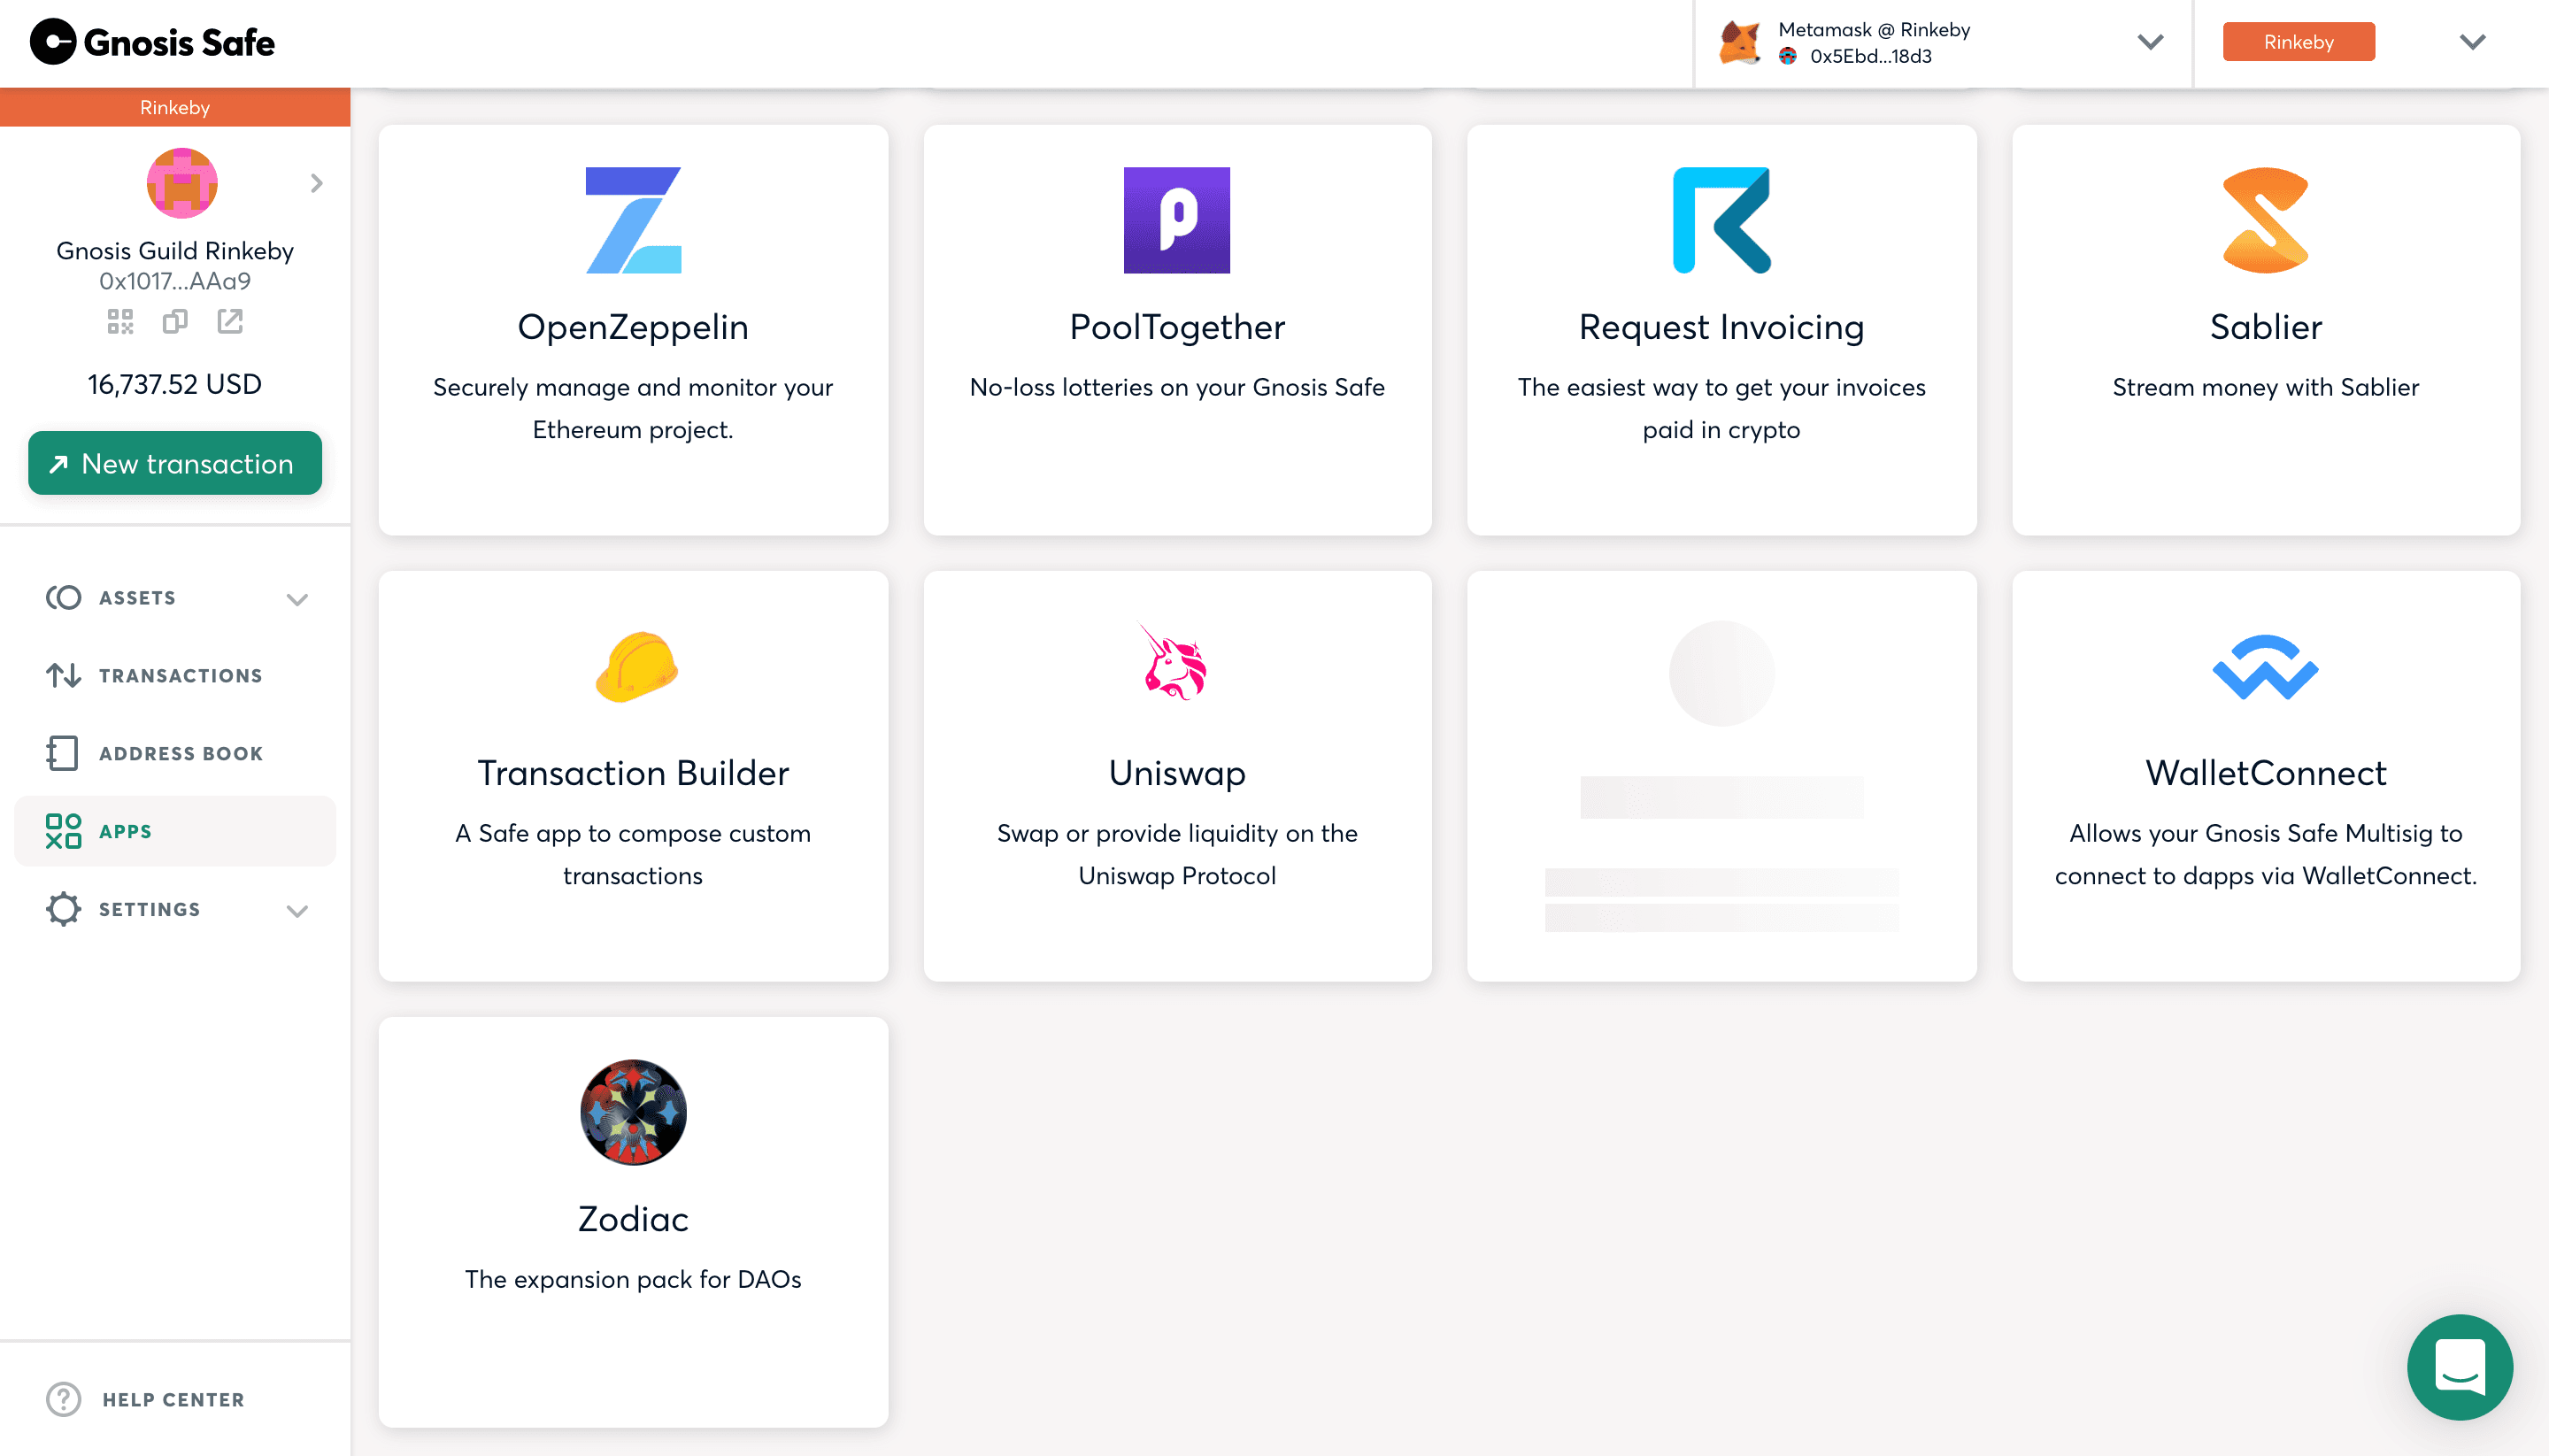
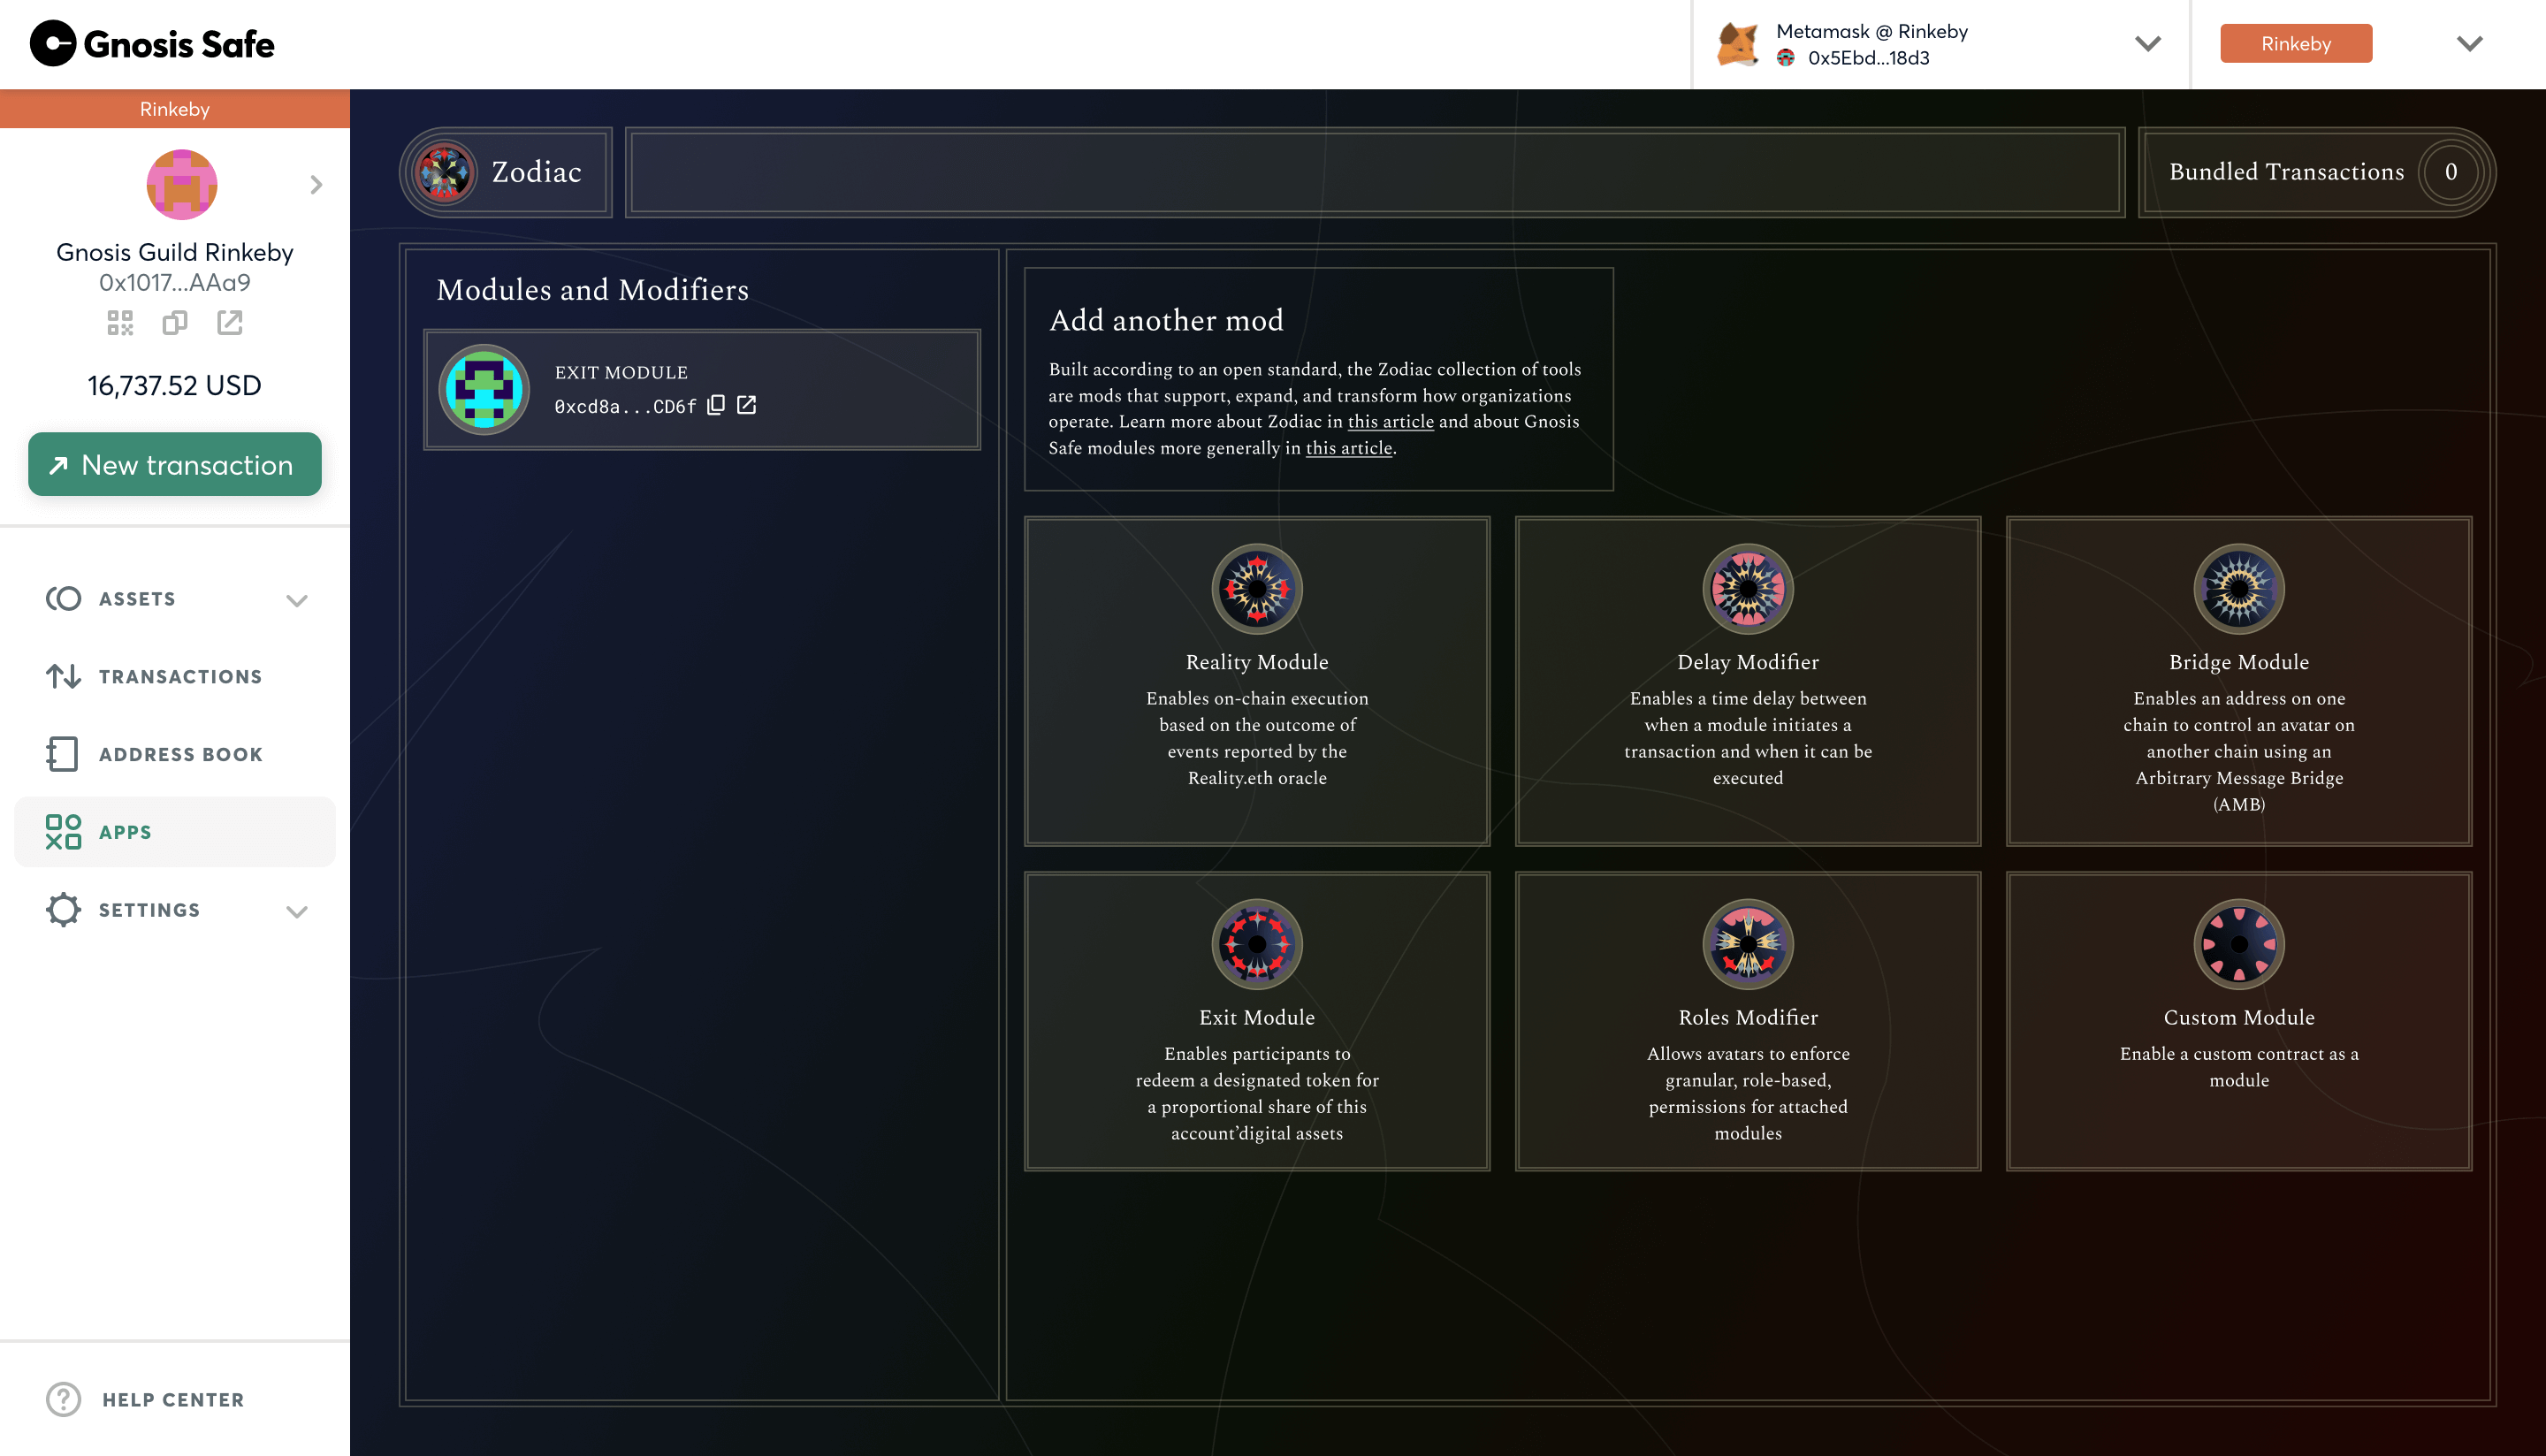
Once entering the Zodiac App, you'll see the current Zodiac-compliant collection of tools that have a Zodiac App interface.
02 Add Modifier
Click on the Roles Modifier available through the Zodiac App on Safe. When you open the Roles Modifier, it will look like this:
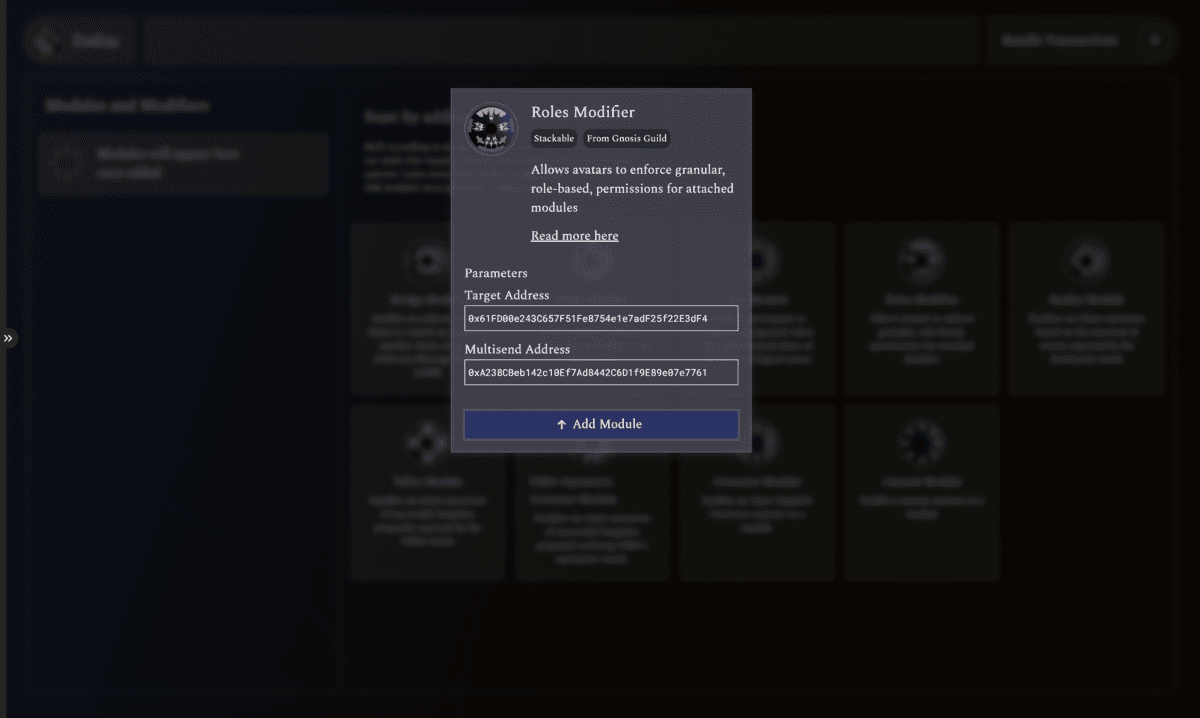
Review the default values in the fields:
- Target Address: Address on which the module will call. This is usually the same address as the Safe's address.
- Multisend Address: Address that can call functions. This address should already be pre-filled with the correct address.
Click the "Add Module" button.
Submit transaction
After that, you should see a Safe modal prompting you to review the transaction. Click "Submit" when ready:

Confirm the transaction with your web3 wallet that is a signer on the Safe.
03 Add Role
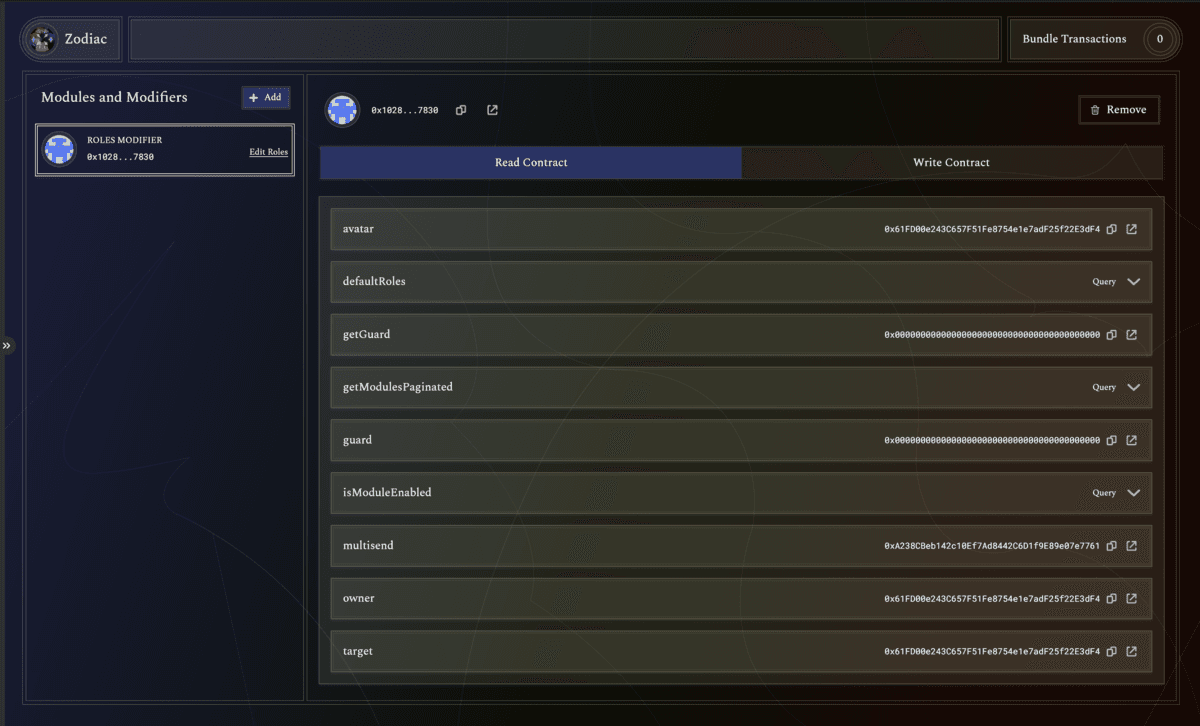
After confirming the transaction, return to the Zodiac App, where your configured Roles Modifier will be displayed in the left side panel.
Adding a new role involves three steps: (1) creating a role, (2) adding a member, and (3) adding a target.
Create a Role
Click on "Edit Roles" in the left side panel.
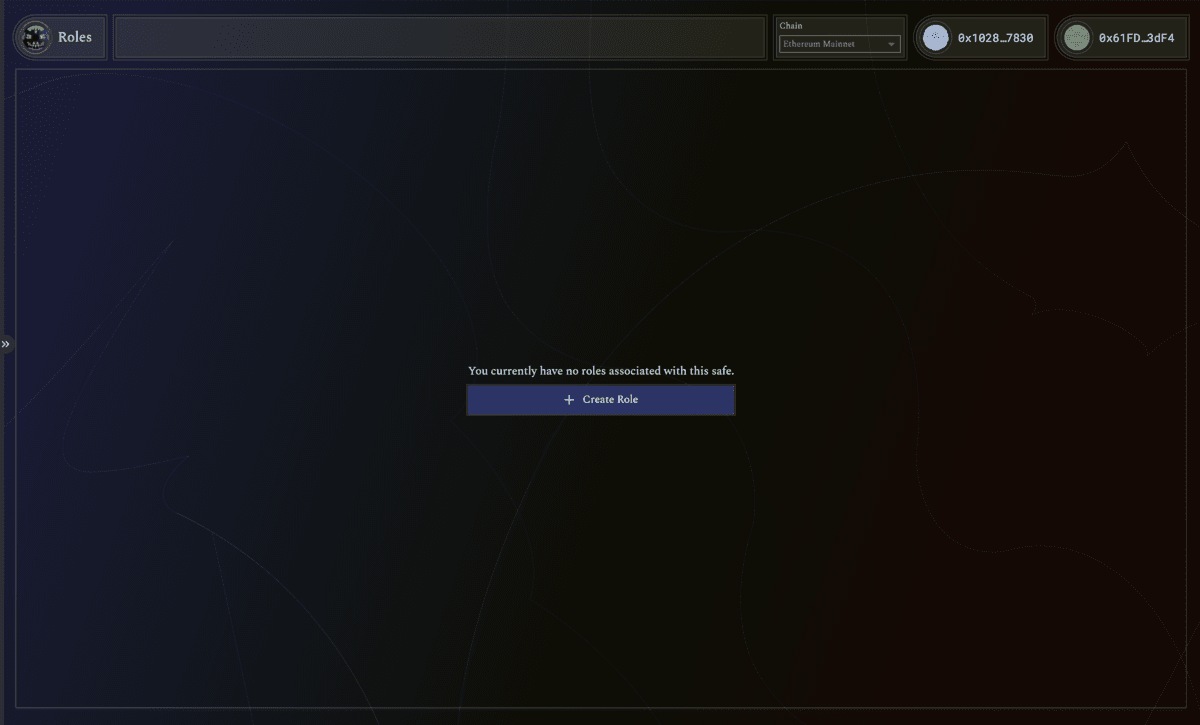
Click on the "Create Role" button to open the Role view, where you can add members and targets to the role. Note that the Role name is created automatically by using the role's index (e.g. Role #1).
Add a Member
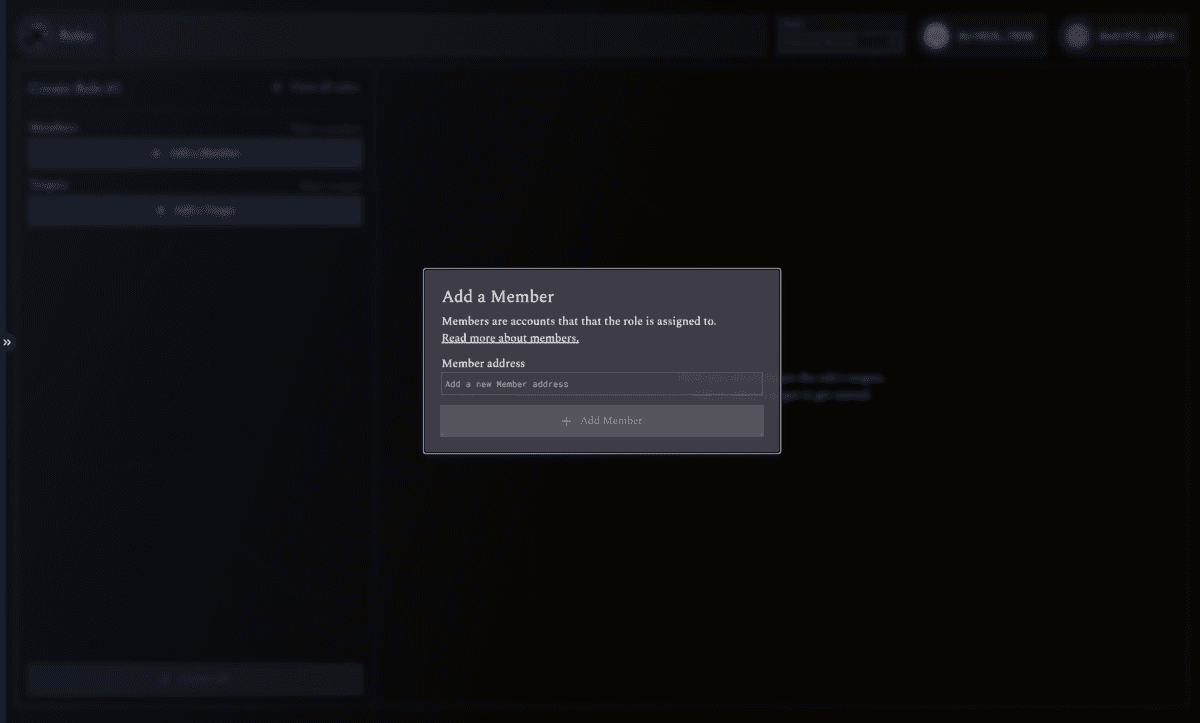
Members are accounts that the role is assigned to. Once an account is assigned the role, it can call targets on behalf of the avatar by passing transactions to the avatar for execution (via the Roles Modifier).
To assign a role to an account, click on "Add a Member," enter the member's address in the field, and click the "Add Member" button.
Add a Target
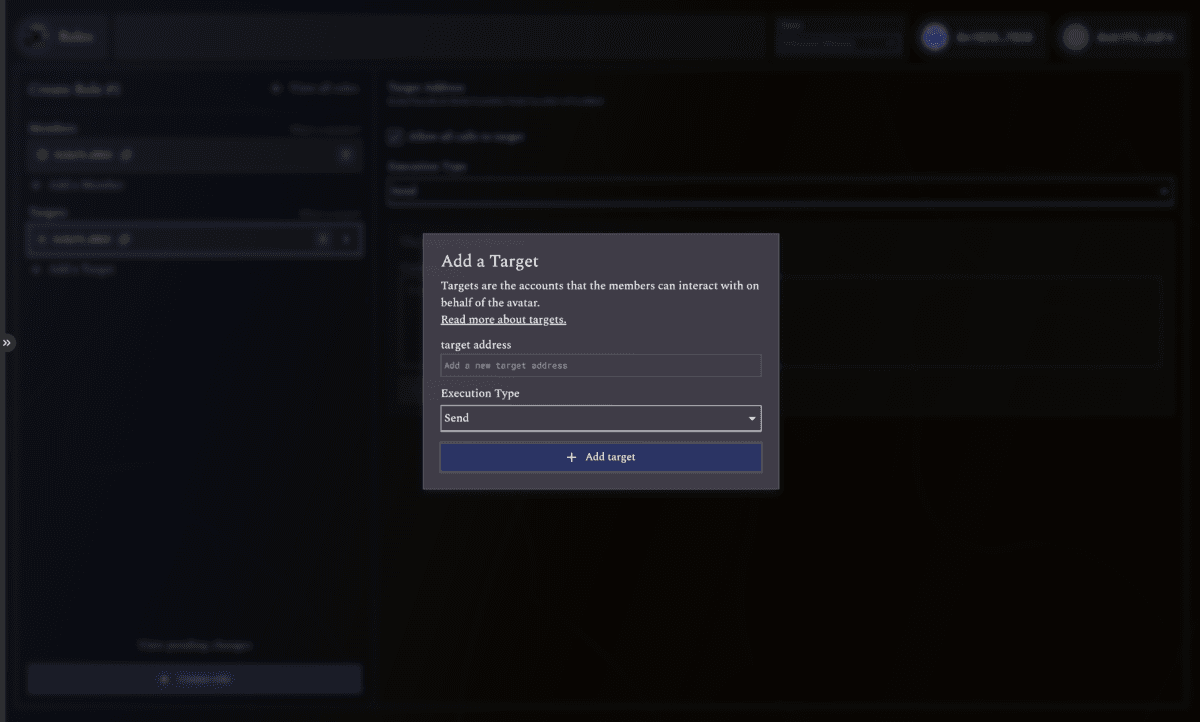
Targets are the accounts that the members can interact with on behalf of the avatar. Targets can have detailed permission configurations, like what functions can be called and which arguments are allowed in the function call.
To specify a target, click on "Add a Target," enter the appropriate target address in the field, and choose your preferred Execution Type:
None: Can execute normal transactions on behalf of the target.Send: Can send ETH/native token value along with transactions to this target.DelegateCall: Can perform delegated calls to this target. This uses the DELEGATECALL (opens in a new tab) opcode to execute the code at the target destination in the contexts of the avatar (the avatar's storage, sender, and value), as if the code was a part of the calling contract.Both: Can execute both delegateCall and/or send ETH/Native Token value.
After the target is created, it can be selected in the left side panel and edited in the right panel.
Confirm Additions
Once you've added the appropriate members and targets to this role, click "Create Role" at the bottom of the left side panel. Only then will your changes to the role be saved. Note that, in order to create the role, you must connect your wallet (and be a key signer on the connected Safe). You should see a Safe modal prompting you to review the transaction.
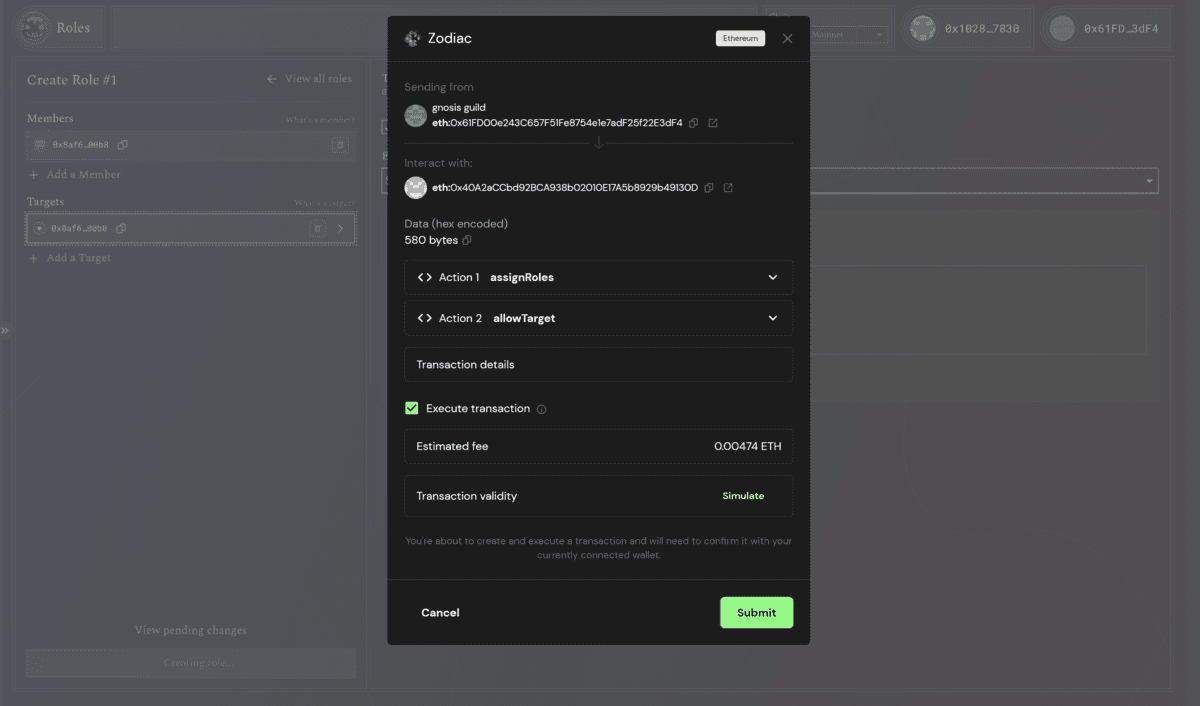
Click "Submit" when ready and confirm the transaction with your web3 wallet that is a signer on the Safe.
04 View Roles
After creating a role, return to the Roles App page to view your created roles. You can filter the roles by member or target addresses to find your role more easily.

05 Edit Roles
On the Roles App page, click on any role to add and remove members and targets. You can also select a target in the left side panel and edit the permissions of that target in the right panel.

Functions
Each target function can be allowed/revoked individually. You can also customize a specific execution type for each function.
Parameters
Click on the function to expand and view the parameters. To add a condition to a parameter, click "add a condition" next to the parameter, select a condition, and enter an appropriate value. To delete an existing condition, click the delete button.
Please note that any changes you make to the role will not be saved to the role unless you click on the "Update Role" button.
06 Explore the Zodiac Pilot Extension
The Roles Modifier works especially well with Zodiac Pilot, a Chrome extension that enables users to simulate, record, and batch dapp transactions on behalf of a DAO. By using the Pilot extension, owners of a Safe (avatar) or any address designated by the Roles Modifier can verify dapp interactions before submitting them as a multi-send batch transaction for gas savings and easy signing.
Learn more about the Zodiac Pilot Extension.
Questions?
If you need support or have questions about Zodiac, join the Gnosis Guild Discord (opens in a new tab).